
This little 5-ingredient chocolate cream icebox square recipe is the kind of dessert I lean on when life is busy but I still want something special on the table. Icebox desserts go way back to the days when home cooks made magic with simple pantry staples and a refrigerator instead of a fancy oven. These squares are cool, creamy, and chocolatey, with just enough crunch from the cookie crust to keep things interesting. They’re perfect for potlucks, Sunday dinners, or those nights when you want a treat but don’t want to heat up the kitchen. You can make them ahead, tuck the pan in the fridge, and feel a little smug knowing dessert is already done.
These chocolate cream icebox squares are lovely all on their own, but a few simple touches can turn them into a full dessert spread. I like to serve them with a bowl of fresh berries—strawberries, raspberries, or even sliced bananas—so everyone can add a little fruit on top if they’d like. A small scoop of vanilla ice cream or a glass of cold milk is especially nice for kids, while coffee or decaf after dinner pairs beautifully for the grown-ups. If you’re serving these at a gathering, you can cut the squares small and set them out on a platter alongside some salty snacks like pretzels or mixed nuts; the sweet-and-salty combo keeps people coming back for “just one more” square.
Advertisement
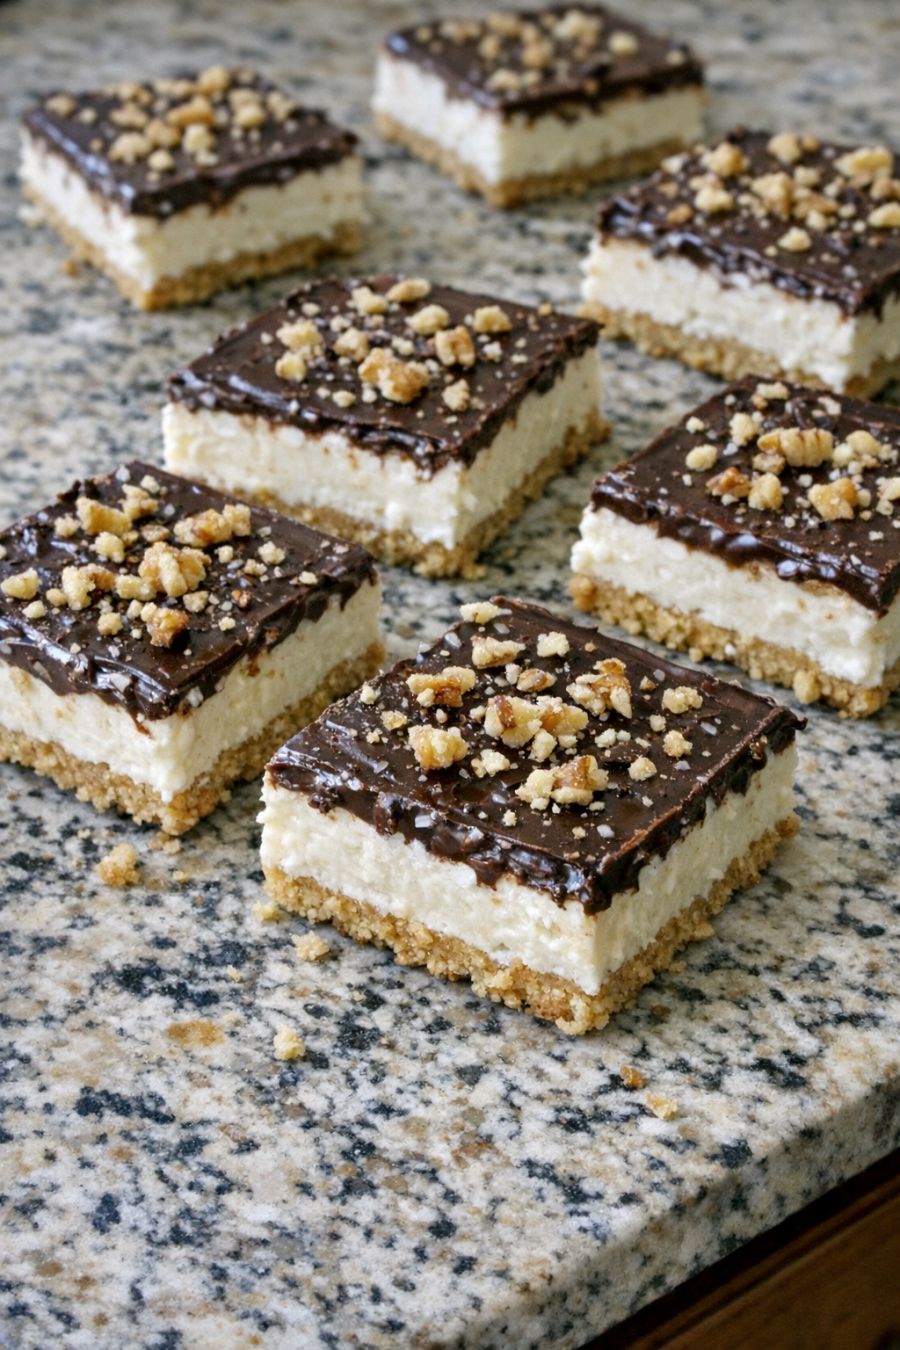
5-Ingredient Chocolate Cream Icebox Squares
Servings: 12 squares
Ingredients
2 cups chocolate cookie crumbs (from chocolate graham crackers or chocolate wafer cookies, finely crushed)
1/2 cup (1 stick) unsalted butter, melted
2 cups cold heavy whipping cream
1 (14-ounce) can sweetened condensed milk
1 1/2 cups semisweet chocolate chips (or chopped chocolate), melted and slightly cooled
1/2 cup (1 stick) unsalted butter, melted
2 cups cold heavy whipping cream
1 (14-ounce) can sweetened condensed milk
1 1/2 cups semisweet chocolate chips (or chopped chocolate), melted and slightly cooled
Directions
Prepare the pan: Lightly grease or line an 8x8-inch or 9x9-inch baking pan with parchment paper, leaving a little overhang on two sides so you can lift the squares out easily later.
Make the crust: In a medium bowl, stir together the chocolate cookie crumbs and melted butter until the mixture looks like damp sand and holds together when pressed. Pour into the prepared pan and press firmly into an even layer using the bottom of a measuring cup or your fingers. Pop the pan into the fridge while you make the filling.
Melt the chocolate: In a microwave-safe bowl or using a double boiler, gently melt the chocolate chips until smooth, stirring often so they don’t scorch. Let the melted chocolate cool to just warm (you still want it pourable, but not hot) so it doesn’t deflate the cream later.
Whip the cream: In a large, cold mixing bowl, beat the heavy whipping cream with an electric mixer on medium-high speed until soft peaks form. (Soft peaks will gently curl over when you lift the beaters.) Be careful not to overbeat.
Add the sweetened condensed milk: Pour the sweetened condensed milk into the whipped cream and beat on low speed just until combined. The mixture will loosen slightly but should still be thick and creamy.
Make the chocolate cream: Slowly drizzle the cooled melted chocolate into the cream mixture while beating on low speed, scraping down the sides of the bowl once or twice. Mix just until everything is evenly combined and the mixture is a smooth, light chocolate cream.
Assemble the dessert: Take the pan with the chilled crust out of the fridge. Pour the chocolate cream filling over the crust and spread it out into an even layer with a spatula, smoothing the top as best you can.
Chill to set: Cover the pan loosely with plastic wrap or foil and refrigerate for at least 4 hours, or overnight if you can. The longer chill time helps the squares firm up and makes them easier to cut.
Slice and serve: When you’re ready to serve, use the parchment overhang to lift the dessert out of the pan, if using. Cut into 12 squares (or smaller pieces if serving a crowd). Wipe your knife with a warm, damp cloth between cuts for neat slices.
Store leftovers: Keep any leftover squares covered in the refrigerator for up to 3–4 days. They actually taste even better on day two, once the flavors have had more time to mingle.
Advertisement
Variations & Tips
For picky eaters or different tastes, there are plenty of easy ways to customize these icebox squares without making things complicated. If someone in your house isn’t a big fan of dark chocolate, use milk chocolate chips instead for a sweeter, milder flavor. You can also swap the chocolate cookie crumbs for regular graham crackers or even vanilla wafers to tone down the chocolate and make the filling the star. For a fun kid-friendly twist, sprinkle mini chocolate chips or crushed cookies over the top before chilling so the kids feel like they’re getting a little extra treat. If you need a nut-free dessert for school events, just be sure to choose cookies and chocolate that are labeled nut-free; on the flip side, if your crew loves nuts, you can stir a small handful of finely chopped toasted pecans or walnuts into the crust for extra crunch. To lighten things up a bit, you can replace half of the heavy cream with very cold evaporated milk and whip it the same way—just know the texture will be a little softer. For a fancier version, layer sliced strawberries or bananas between the crust and the chocolate cream, then top with a dusting of cocoa powder right before serving. And if you’re serving a mixed-age crowd, you can even set up a simple topping bar with bowls of berries, sprinkles, and crushed pretzels so everyone can decorate their own square and make dessert feel like a little celebration.


.jpg)


0 commentaires:
Enregistrer un commentaire